

First of all, obviously it is no surprise to you that I have been MIA here. A lot has happened in my life since my last post. I had a baby in April 2020, and shortly after that, my father-in-law was diagnosed with terminal brain cancer (if you pray, please say a prayer for him). Spending time with family has been my main priority over the last year. I have sewn a few things for my son but chose to spend the time I would have spent typing a post hanging out with family and soaking up every second with them.
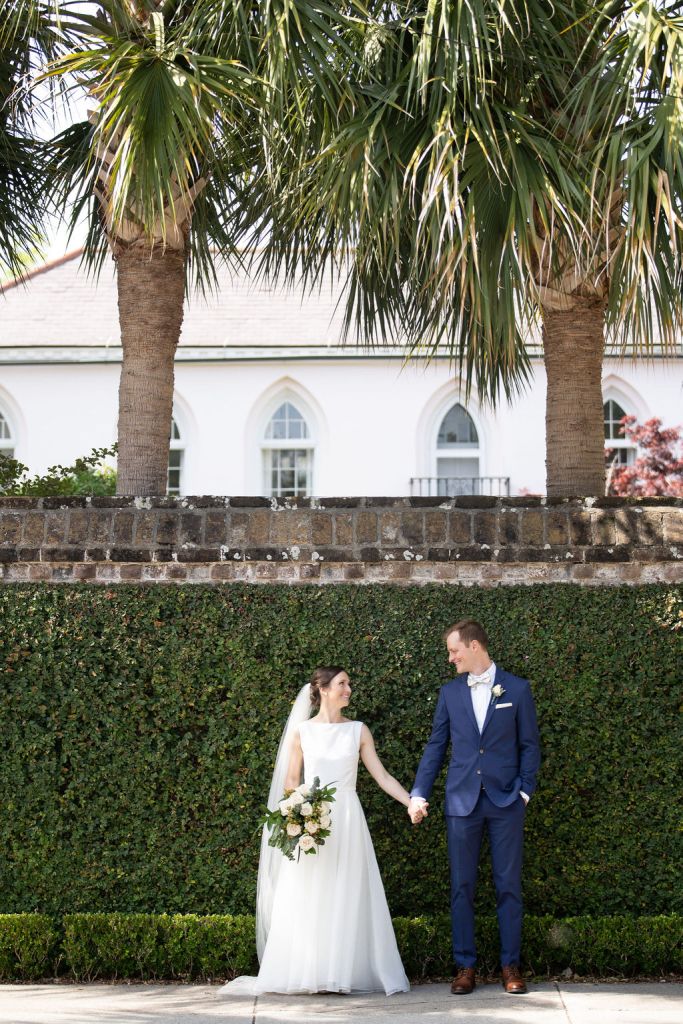
Even though 2020 was a very grim year, one of the highlights was discovering I would have the opportunity to make part of a friend’s most supreme garment she would ever wear: her wedding dress. My friend Dana contacted me last year seeking some advice about her wedding in May. She had purchased an organza skirt with a train for her wedding day from BHLDN. They sell separates you can mix and match on your wedding day! Instead of buying a top from the same place she had her heart set on something else. She showed me an inspiration picture that was boat neckline, had princess seams that started from the armholes and had a very low “V” back. Her ideas really spoke to me and I was practically jumping up and down in excitement. Her dress would be classic, elegant and so very “Dana”. The original plan was to make the bodice, attach it to the skirt (which had a zipper closure at the center back), and add a couple hooks and eyes at the center back of the bodice to close it up the rest of the way. Seems simple right?
Everything had to be done over text or mail since she lived in another state. She even took her own measurements after watching a YouTube video! I helped her order some swatches from Mood and she decided on a lovely whisper white silk taffeta for the bodice and a matching silk crepe de chine for the lining. I interlined the entire bodice with white cotton flannel, which is a very common interlining used in the bridal industry. The cotton flannel gives the taffeta some body so it looks and feels even more luxurious, and surprisingly it doesn’t add too much heat since the silk is so breathable. I used Butterick 5982 as a starting point for the bodice and redrafted the back piece to have an ever-so-slightly rounded V back. I love that the bodice has diagonal bust darts too. I used a hip curve ruler to redraw the back. That ruler is essential for anyone who likes to make changes to their patterns! I cut out a 10 at the bust and tapered to a 12 at the waist. I should have sized down since I am well aware Butterick runs big, but I had no idea Dana was going to be such a rockstar at measuring herself! It is difficult to see in the picture below, but the bodice is too big. I later took it in at the side seams.
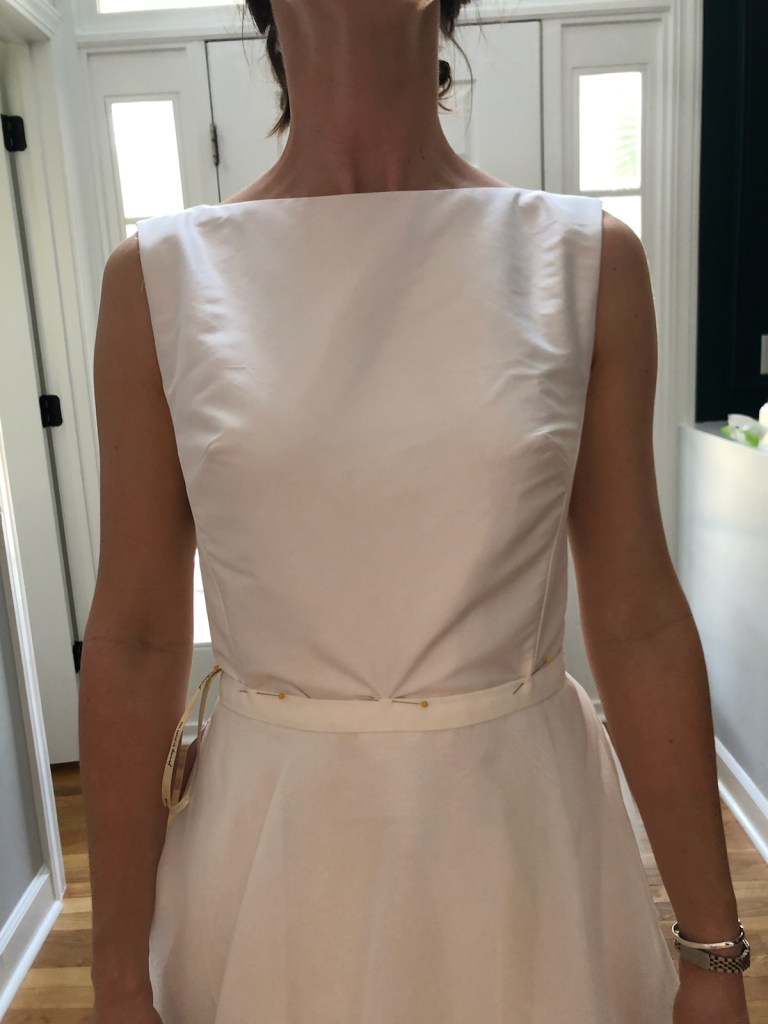
The photos above were from her first fitting. I think we only had two fittings, one a few months before the wedding, and the second one was the day before her wedding so there was no time for a muslin! The first fitting we focused on the bodice’s fit and I marked the waistline on the bodice with pins so I would know where to attach it to the skirt. I later thread-traced the area that was pinned. When sewing with silk taffeta, you have to be mindfull of where you are pinning as the pins will leave marks on the fabric. You can buy silk pins that are supposedly finer and don’t leave marks, or you can just be sure to pin or baste on (or slightly within) the seamline. Also, if you have to let out a seam, the holes from the needle will also make permanent marks that will not come out.
The bodice was serged at the hem and then I stitched in the ditch along the skirt’s existing waistband to secure the bodice to the skirt. Of course, I hand basted before using the machine to be sure the center fronts of both pieces aligned. After the bodice was attached, I hand stitched the bodice lining down at the waist.
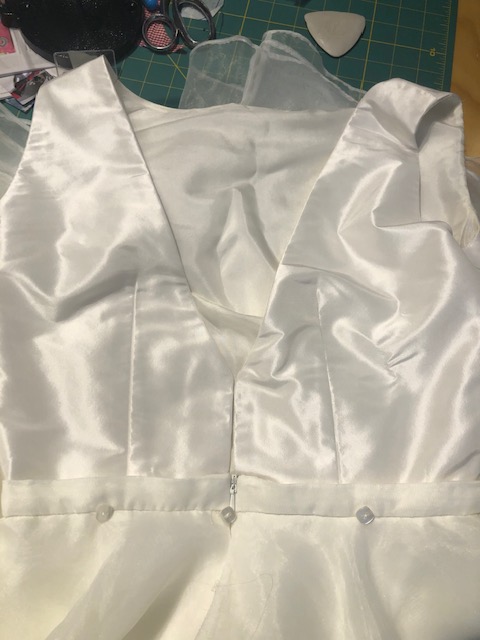
The original plan changed right after I finished attaching the bodice to the skirt. The back neckline ended 3 or 4 inches above her waist instead of the one or two inches that was planned (I had to use a much smaller seam allowance a the waist than originally planned because Dana is a little long-waisted). Closing up the back of the dress with two hooks and eyes would look fine, but 4 inches of hooks would mean quite a lot of potentially visible hardware. Not to mention it could be uncomfortable. So, I made the decision to rip nearly everything apart and put in a new zipper that would be sewn to the bodice and skirt. Here is a picture of the dress before I took the back apart. If you are wondering about the buttons, they are for the bustle.
I took out the finished center back area of the bodice, and I removed the zipper from the skirt. I purchased a heavy duty invisible zipper that would handle the stress of the many layers of fabric at the waist. I marked the waistline on the zipper while it was sewn shut so I could make sure it was lined up evenly, and I hand basted the invisible zipper in place before I sewed it in by machine. I have started doing this every time I sew in a zipper and it eliminates so much heartache and saves me time. Also, with invisible zippers I ensure the top of the zipper lines up on both sides every time!
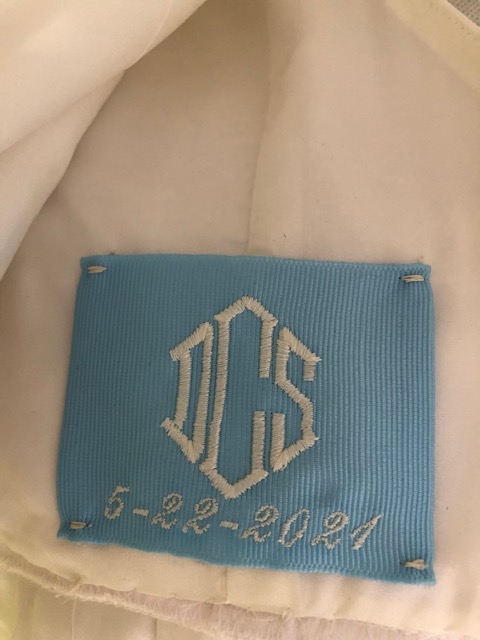
The final finishing touch on this dress was the addition of a new label. I removed the previous clothing label in the purchased skirt and replaced it with a monogramed blue grosgrain ribbon with Dana’s new initials and her wedding date. The ribbon also served as her “something blue”.
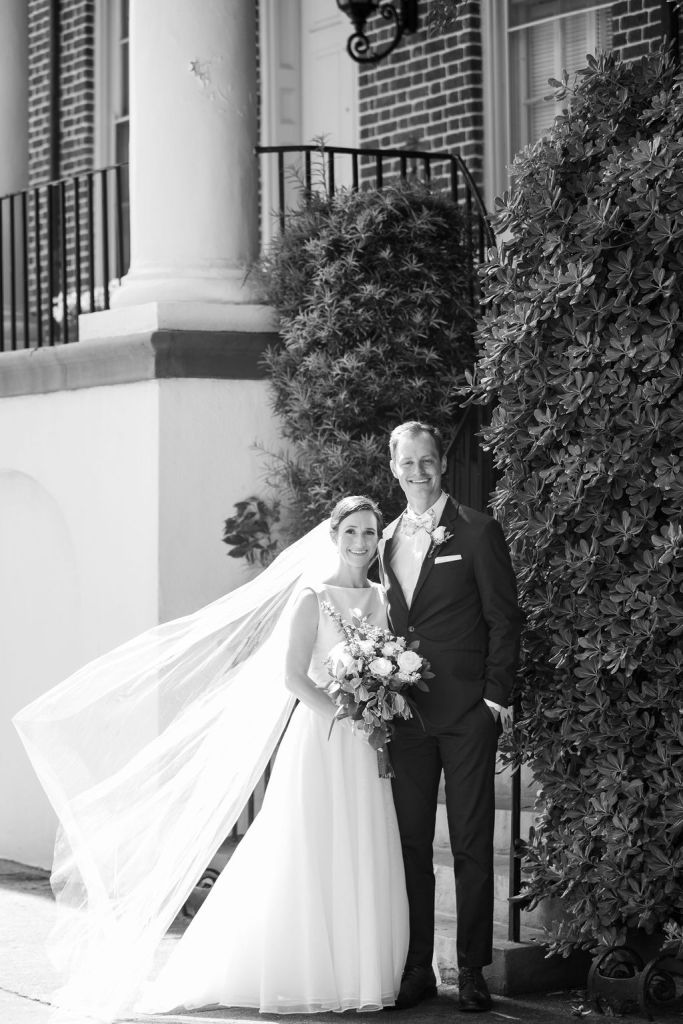
I also made her veil. I can’t believe the markup of veils in stores. The cost of materials for a veil is about 15-20 U.S. dollars, yet a bridal shop will charge hundreds of dollars for the same style. Also, it was really easy to make, and it only took about 20 minutes of my time to make a chapel-length, unadorned veil out of 108″ wide ivory tulle from Fabric.com. Dana decided she wanted her veil to be the same length as her train, so while she was wearing her dress, I measured from the place on her head where the comb would be worn to the back center hem of her train to get the correct length.
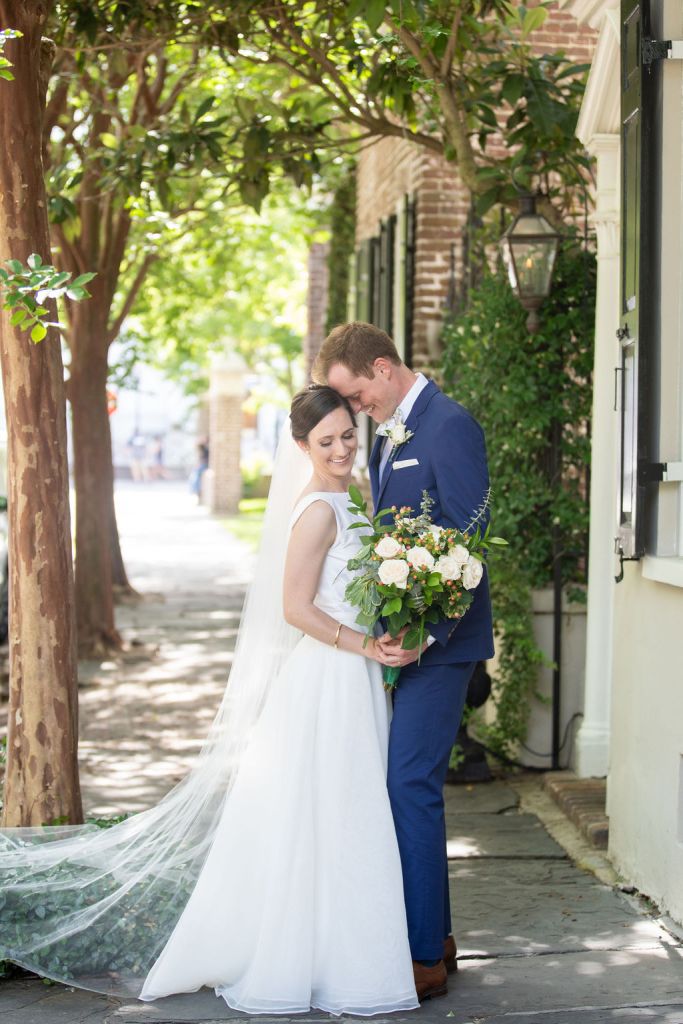
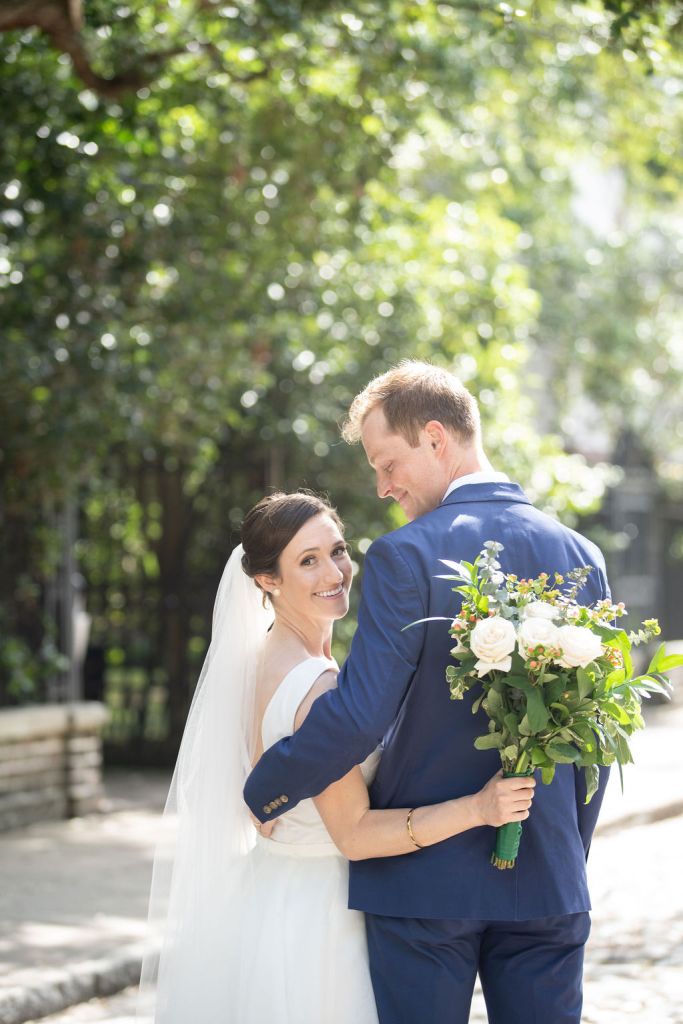
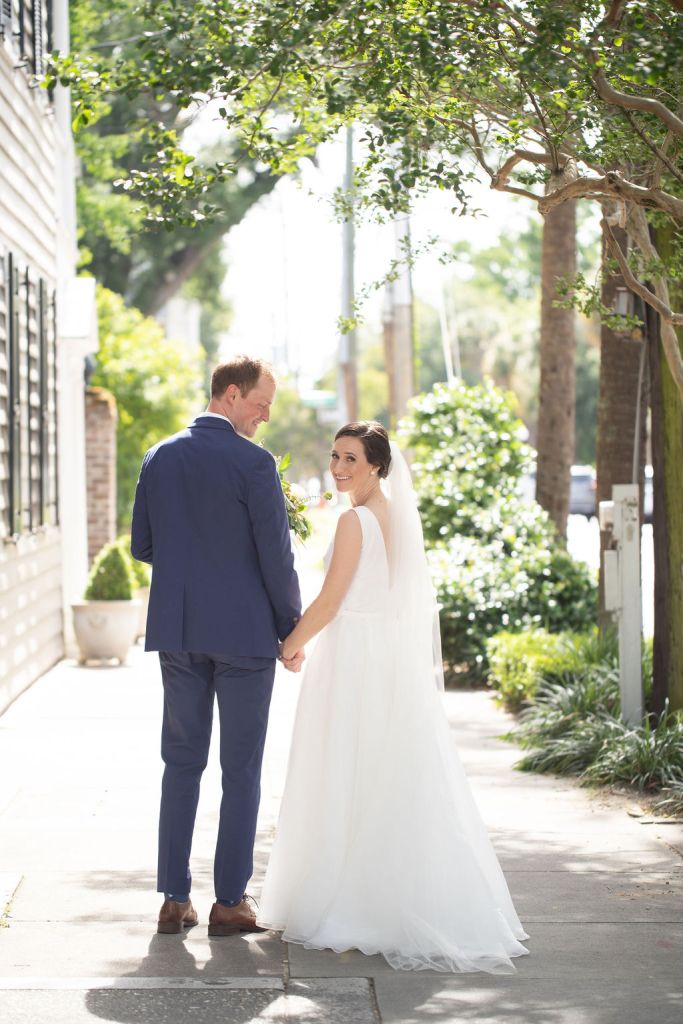
Dana was such a stunning bride! When I saw her walk down the isle, I was so humbled and thankful that someone would trust me to carry-out their wedding dress dreams. This was surely a sewing project I will always remember. Cheers to Dana and Nick!


Megan, I am amazed and humbled by your talent. I enjoy reading about how you do your work.
I’m sorry to hear about your Father-in-law. Please give Jay our condolences. Glad to hear your family is growing and doing well.
beautifully made and beautifully written Megan!
Terri