


Thank you so much for the overwhelming responses to my Gucci-inspired Jasika Blazer in the past week! I tried to respond to each any every comment as best as I could. I had numerous questions about how I sewed the trim on my blazer, so I thought I would put together this tutorial. If you have questions about fabric and trim sourcing or my review of the pattern see my first blog post about my jacket here.

Supplies:
- 1″ Petersham ribbon
- 1/8″ lip-cord trim (available on Amazon and Etsy)
- Tailors chalk
- Clear quilter’s ruler
- Walking foot
- Zipper foot
- Fray check (optional)
- Lite steam-a-seam 2
- Rotary cutter (optional)
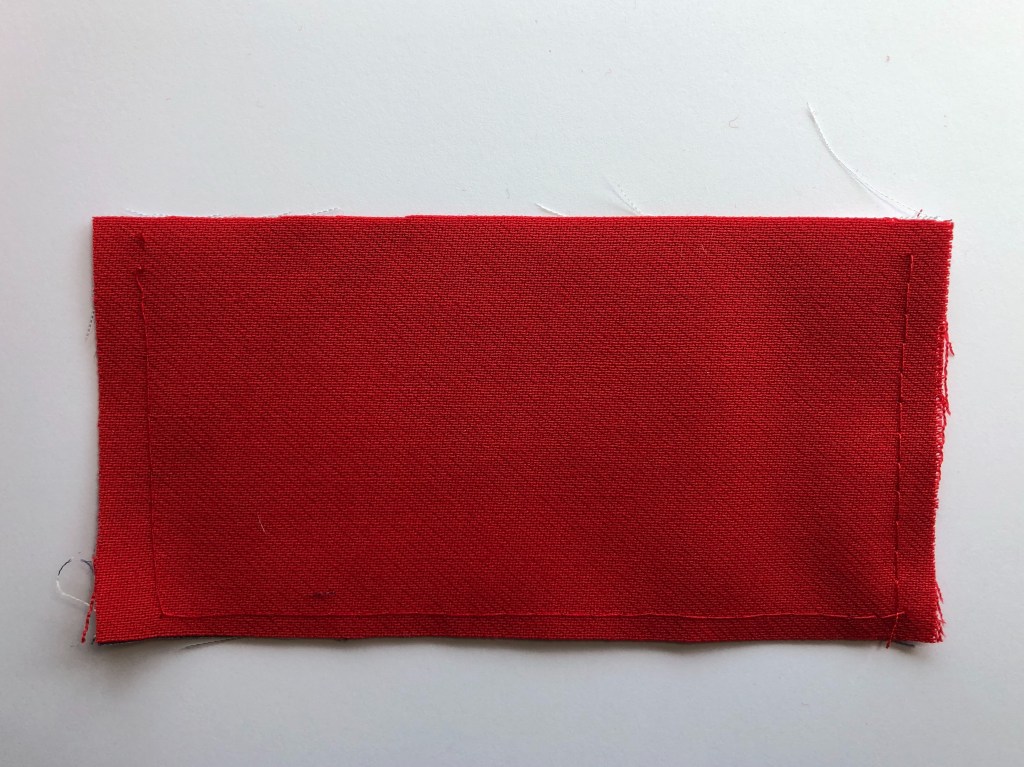
First, remove the seam allowances where the trim will be applied. I like to use a rotary cutter to avoid jagged edges.
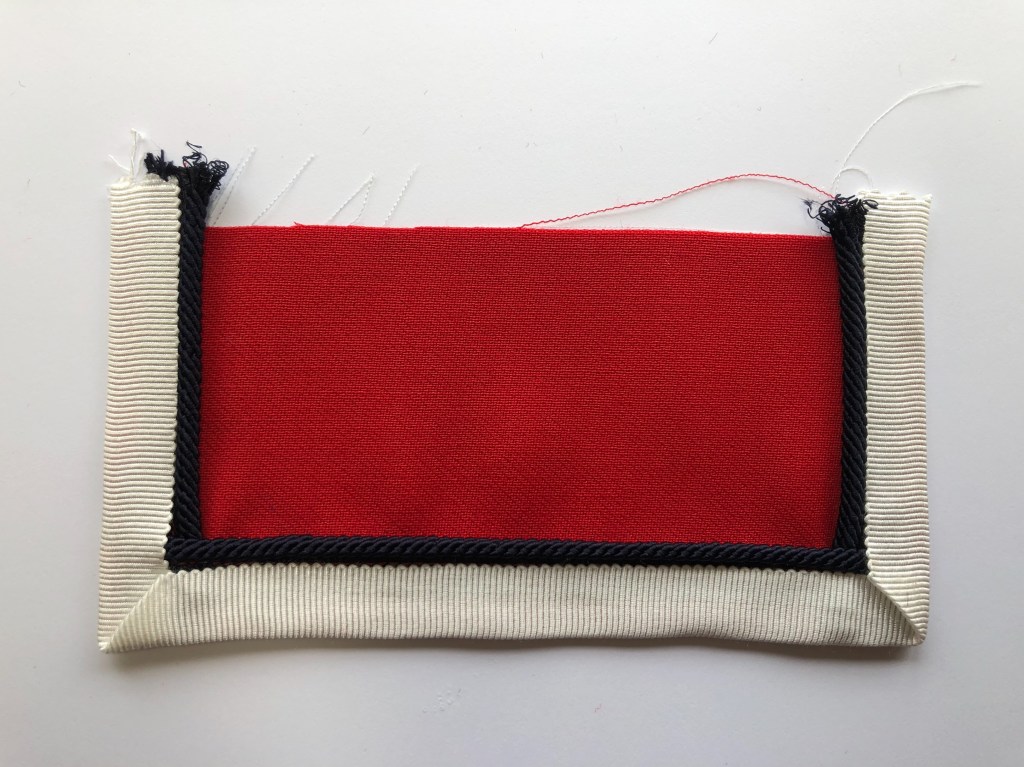
Here, I am using the pocket flap as my example for instructions, but the steps are the same regardless of the area of the jacket. Baste or sew the fashion fabric to it’s corresponding lining or facing, wrong sides together, 1/4” away from the edge. For example, I have the pocket flap basted to the pocket flap lining with wrong sides together. For the collar, you would sew the upper collar to the lower collar wrong sides together etc. On my instagram post here you can see the lapel facing basted to the lapel before the trim was applied.
I like to use a walking foot for this because it guarantees the fabric layers will not shift. I used to think walking feet were only for quilters, but I use it for any sewing project that requires precision.
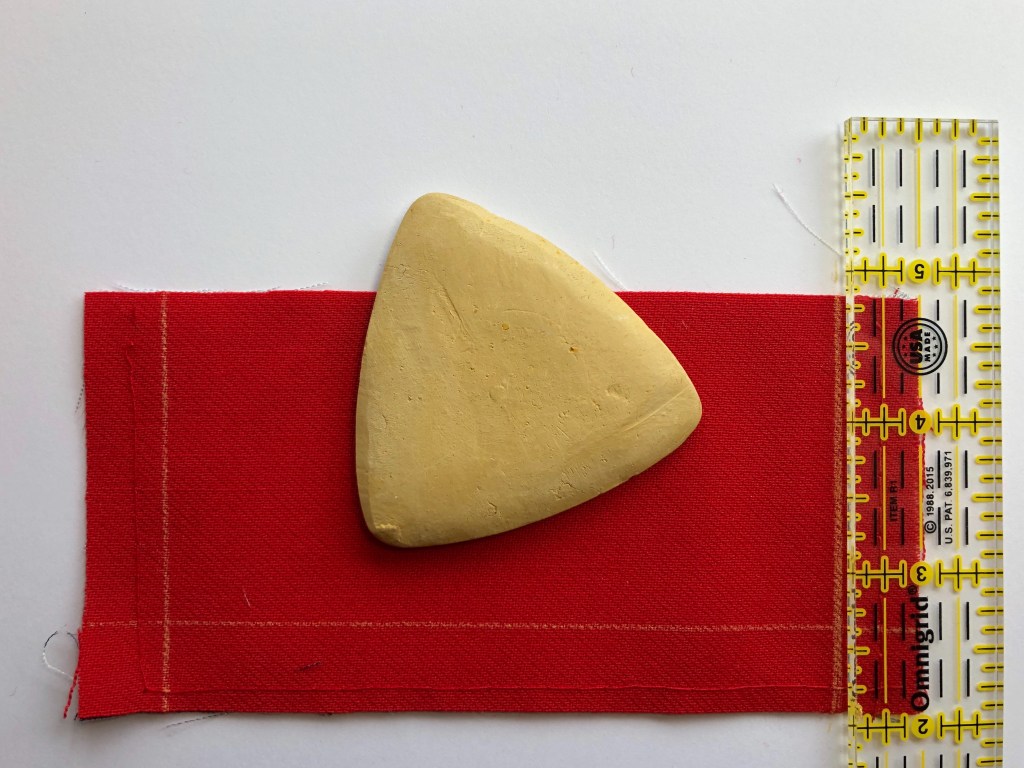
Next, using a quilting ruler, mark 1/2″ from the edge. on all the edges where the trim will be applied.
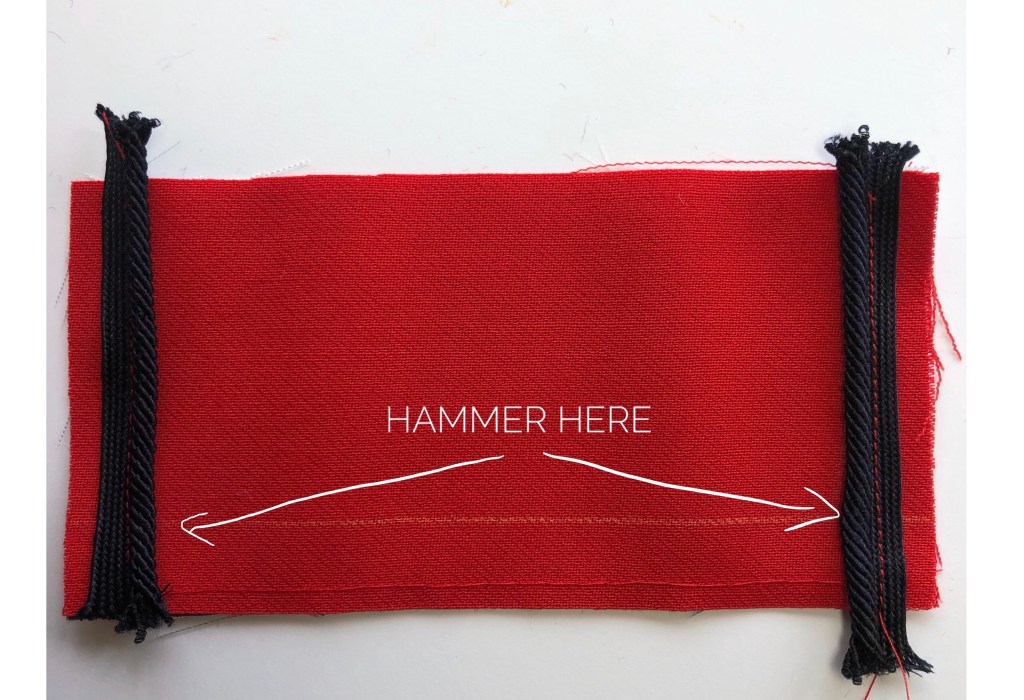
Switch to a zipper foot. Center the lip-cord over the chalk line and sew into place. Hammer all areas that will have intersecting lip cord. If you don’t have a hammer, the handle of heavy sewing shears or a clapper work nicely.

Hammer intersecting corners of lip-cord again after both layers have been sewn into place. Now would be a good time to use Fray Check on your trim if you haven’t already. Cut away excess trim in the seam allowances.
I know I am going to get a lot of eye rolls for admitting I used adhesives to baste my trim in place, but there was simply no other way! I tried hand basting all layers in place before sewing, and they still shifted and made the mitered corners a mess. I suspect this is from having to use a zipper foot to topstitch the ribbon onto the jacket. There is not enough surface area with this foot to get the stability you need to stitch through 4 layers of fabric without them moving. I did look into getting a binding foot attachment for pre-made bias tape, but my local Bernina dealer was kind enough to tell me it wouldn’t work on petersham ribbon. The attachment is over $200, so it wasn’t worth trying out if it wouldn’t work. I think the manufacturers of the RTW Gucci jacket must have a foot specifically (maybe even a specialty machine) for applying flat trims to bind seams as there are a few Gucci jackets out now that have this trim on the edge.
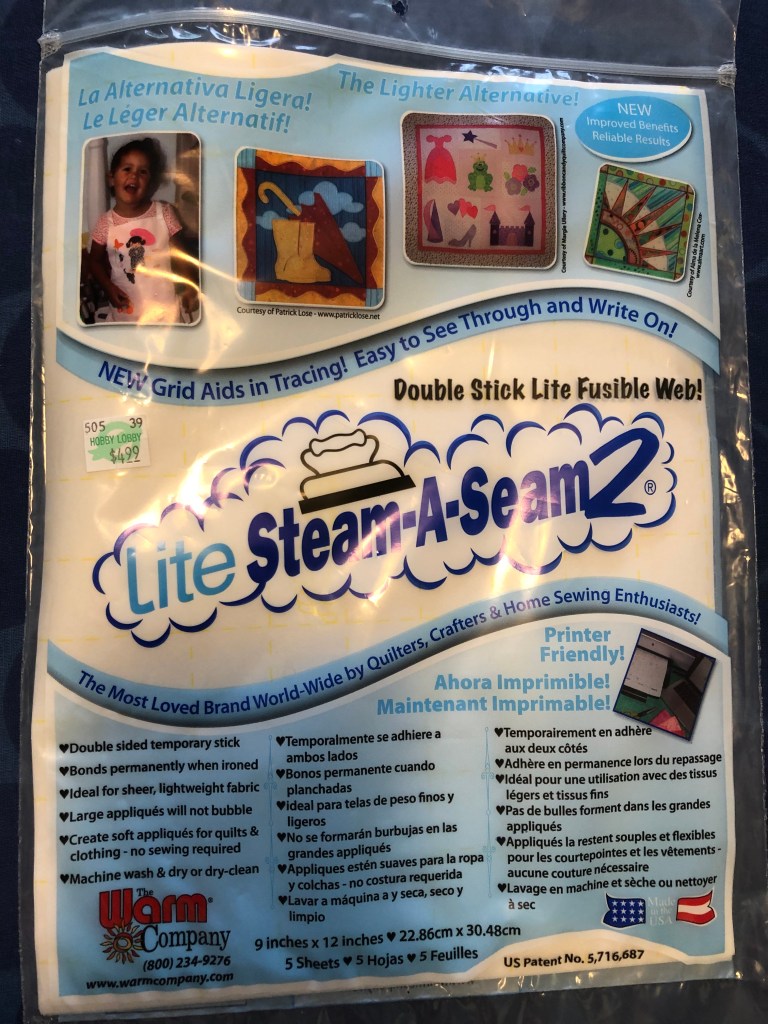
Instead, I used lite steam-a-seam2 to baste the ribbon in place before topstitching. It is basically an iron-on double-sided tape. I have used the regular Steam-a-Seam, and this version is specifically for light weight fabrics. I bought mine at Hobby Lobby, but Amazon has it here. If you use the regular on sheer fabrics, you run the risk of the adhesive seeping through the fabric!!! And, no, this product did not gum up my needle.
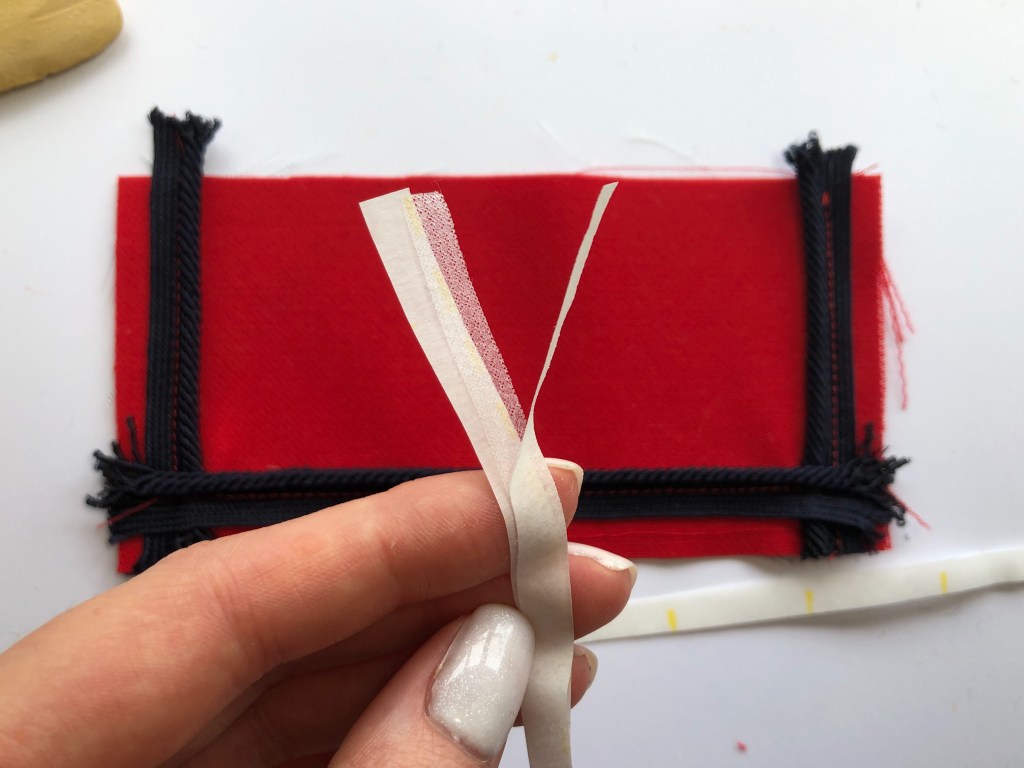
I cut the sheets into several 1/4″ strips. The adhesive is backed by paper on each side.
Peel off only one side of the paper and place the steam-a-seam adhesive side down where the petersham ribbon will go. I like to center the steam-a-seam on the fabric and the trim to have more contact with more layers of fabric. Iron it into place.

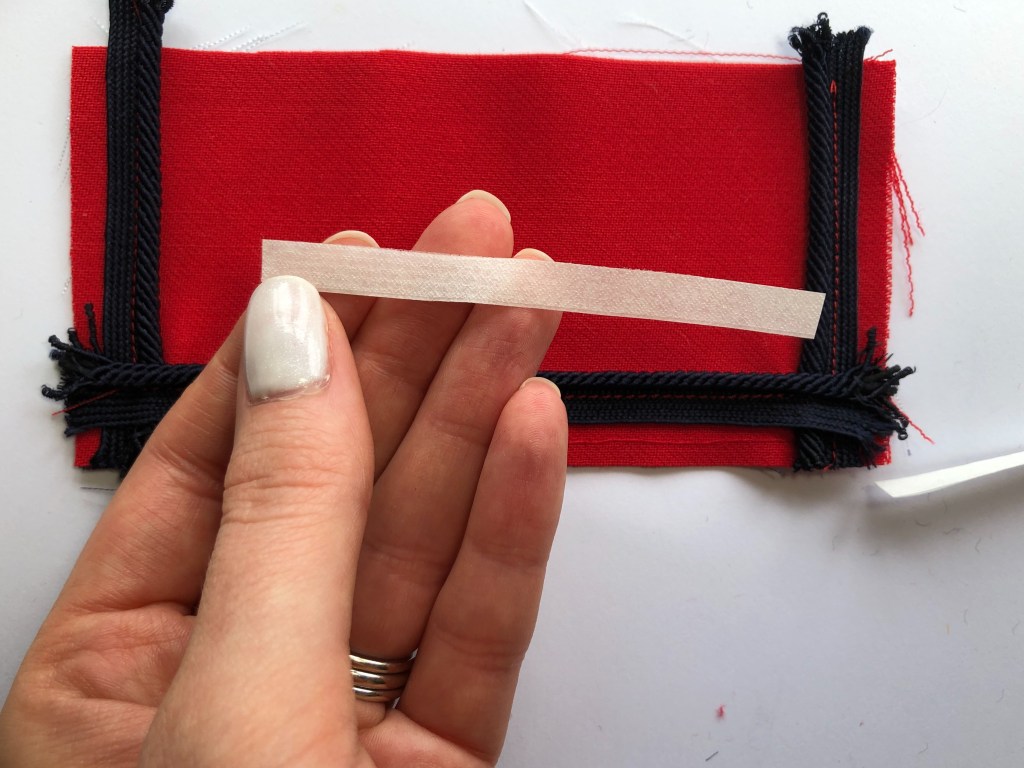
Peel off the paper backing, and repeat for the other areas.

For large spans of trim, such as the lapels and center front of the jacket, you may wish to leave on the paper backing on as long as possible and remove it in a few increments to not pick up lint. Here you can see the adhesive has been ironed on to the fabric and the paper pulled away.
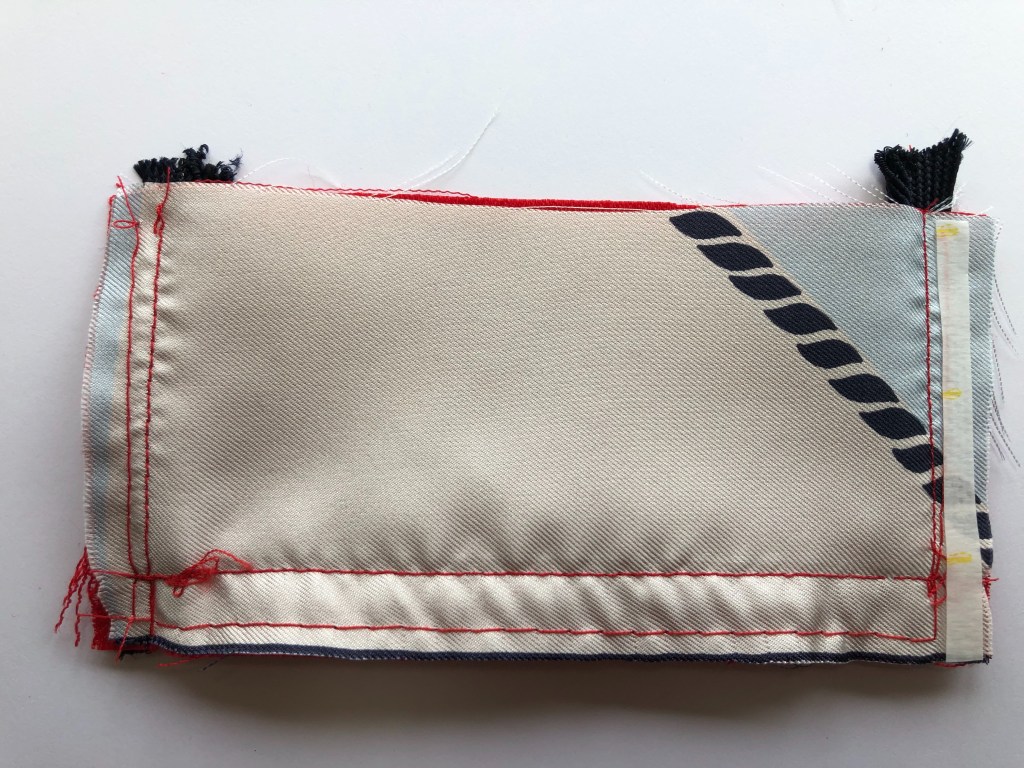
Repeat the application of the steam-a-seam on the reverse side of the pocket flap or area where the petersham is to be applied.
I used 100% rayon petersham ribbon. Rayon cotton blend petersham ribbons are stiffer and therefore, more bulky.
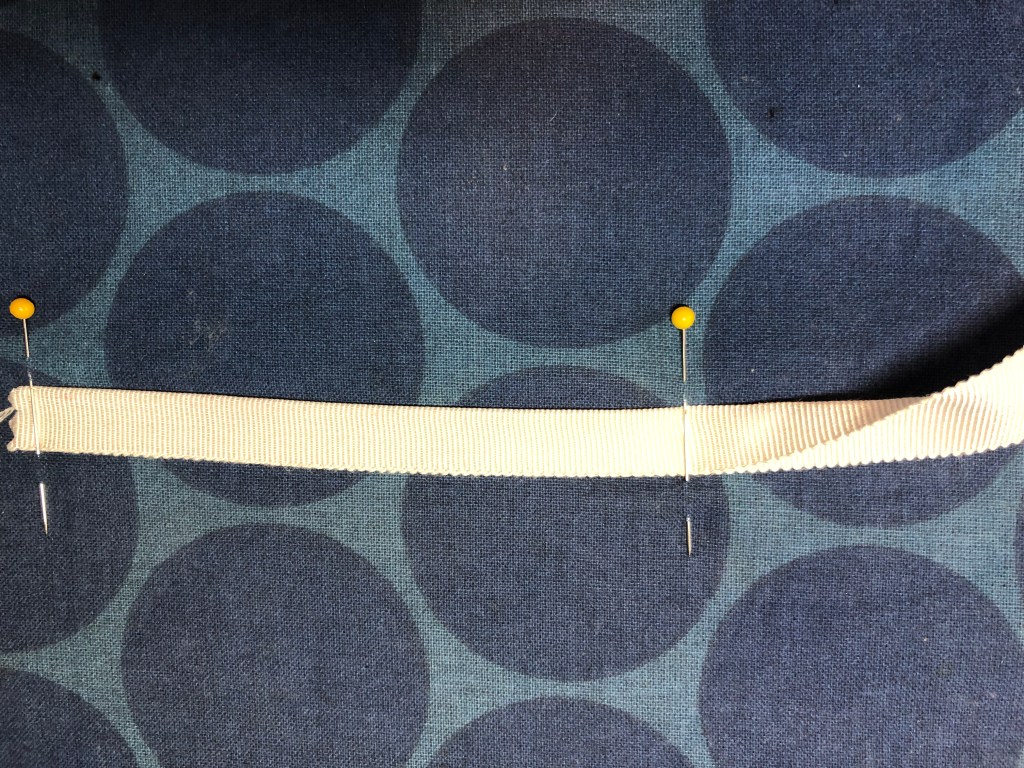
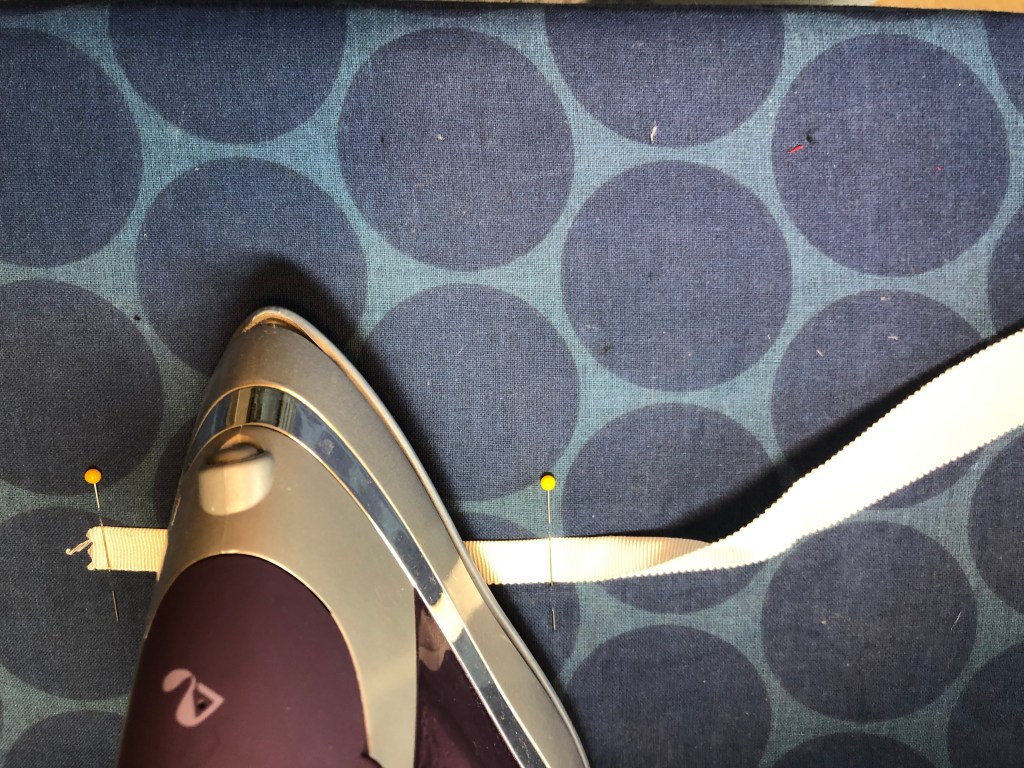
Fold the petersham in half and iron. I like to use this hack that I use when I make bias tape. I take straight pins and pin them into my ironing board to form 1/2″ “slots” that I pass the ribbon through. My iron fits in the middle, and I can set the iron down and pull the ribbon through with minimal effort to make sure the fold is actually in the middle of the ribbon.
Smooth the ribbon onto the right side then fold it around to the wrong side. Above, you can see the left corner needs a more hammering as the ribbon is not laying flat. When you get to an area that needs a mitered corner, use your fingernail to make the crease in the ribbon. Keep applying the ribbon in one continuous piece until you have all the trim in place for that area. If you mess up, you can peel the ribbon off the steam-a-seam as many times as you like and stick it back down! Since you ironed it to the fabric earlier, it will be permanently fixed to the fabric and will not peel up with the ribbon when you need to readjust it.
When it looks good, give it a good press, and topstitch the ribbon down using a zipper foot. Get as close as you can to the edge of the ribbon. It is very important to topstitch slowly! Sew as slow as you comfortably can, and try not to backstitch too much. Mistakes will be highly visible!! Hand sew the miters closed with a slipstitch.
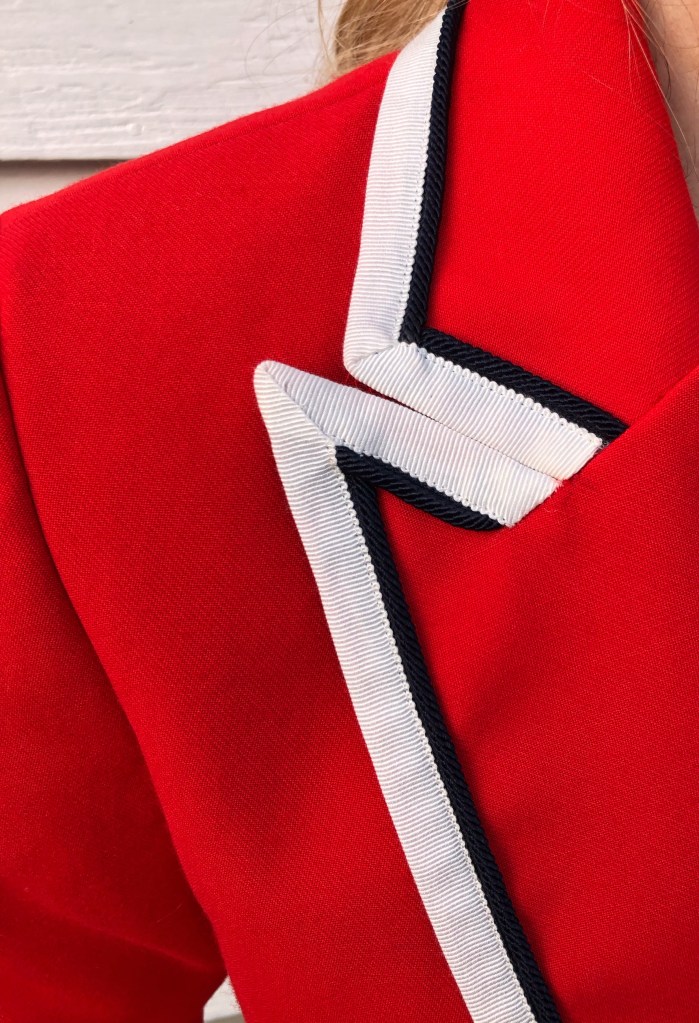
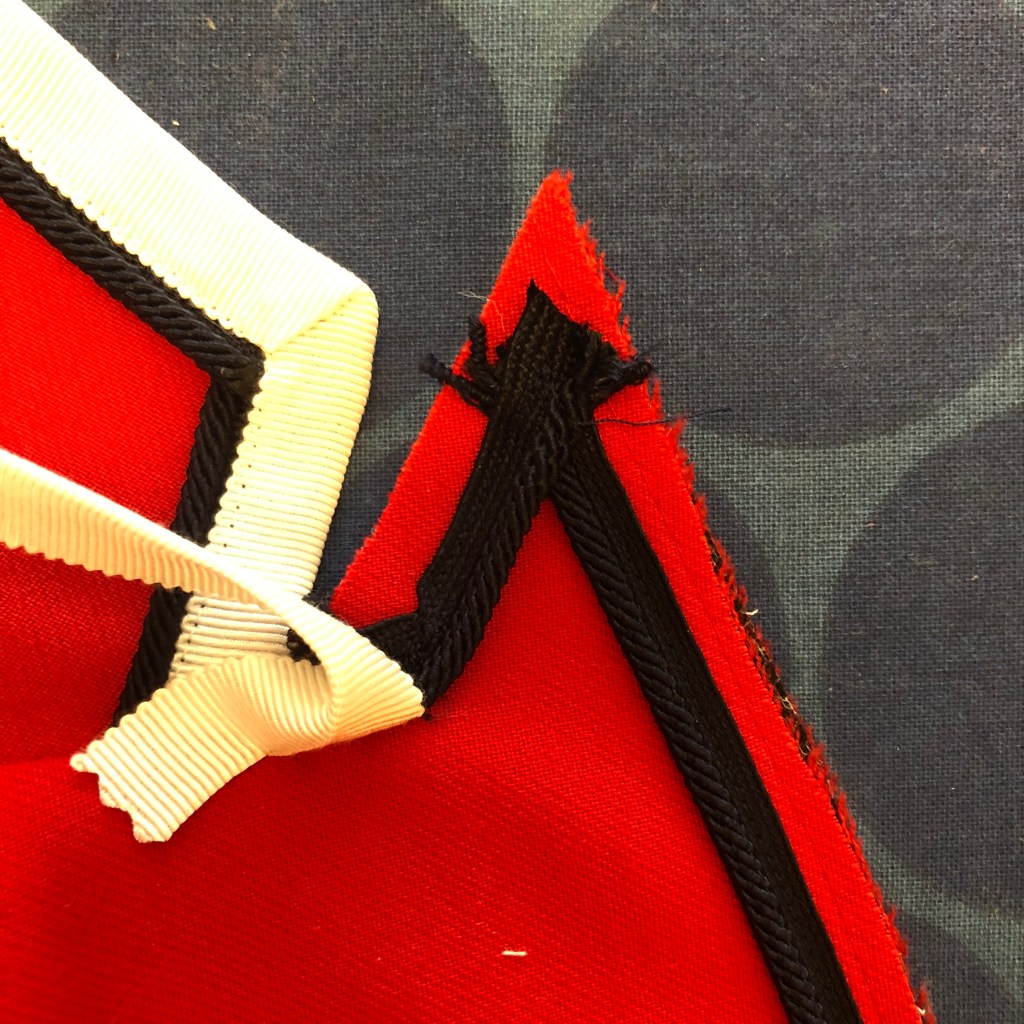
I applied the trim to the pocket flaps, breast pocket welt, and collar before they were attached to the jacket. Applying the trim to the lapel required the most creativity as I had to change up the order of assembly according to the instructions. Below, is a picture of the ribbon stitched to the beginning of the peak lapel right sides together. I had to apply the ribbon here before I applied the lip cord so the lip cord could end tucked under the ribbon as seen above.
On the front of the jacket, the lip-cord on the lapel facing side ends a few inches below the button, and the jacket front has lip-cord ending a few inches above the button. This means for a few inches, there is lip-cord applied to both sides of the fabric. (This can be seen in the first picture of the blog post.) It was difficult to get that many layers of fabric into the correct place, but I made it happen. Topstitch on the right side of the garment at all times, as it will not look as good on the reverse side. When topstitching the trim on the front, you have to flip the jacket over half way down the jacket as the lapel facing becomes part of the inside of the jacket.

What do you think? Will you be trying this technique anytime soon? Have any questions? Let me know in the comments.

Stunning Megan. Love your work and the beautiful finishes you achieve. I am getting so tired of all the quick, shapeless garments that are flooding the sewing world, it’s so refreshing to see some quality projects. Big thanks to Sunny Gal for alert.
Thank you! Quick projects are rewarding, but I think I get the most satisfaction from finishing projects that really challenged (and frustrated) me in some way. Happy Sewing!
This is so gorgeous! I do have one question, though–are your pieces really right sides together? To me it looks like they are sewn wrong sides together, and never turned inside-out, and the trim is applied around the raw seam allowances. Sorry if I’m totally misunderstanding here!
Yes, you are right! They are sewn wrong sides together. Thanks for noticing that, and I have corrected the post.
Thank you for clarifying! I am so in love with your blazer–what a creative and eyecatching project!
Hey! This is fantastic! I am going to try this out! Do you recall the order of operation for the lapels? It looks like you applied trim to the collar, then completed the other steps as usual, and after the jacket was constructed, THEN applied the trim the the lapels? Thanks for this amazing idea. I have made 2 of the Jasika blazers now, and I LOVE them… this is definitely the next project for me 🙂
Yes, you are correct. The trim has to be applied to the collar before it is sewn to the jacket. The rest of the jacket is constructed according to the instructions. I believe I attached the trim on the lapel right before I attached the lining Remember, you need to cut the seam allowance off the jacket lapel and center front ( preferably with a rotary cutter) before you attach your trim! > > >
Love this! Looks great on you 😍. Where are your jeans from please?? Thank you for sharing your wonderful creations 🤩
Lianne, thank you so much. The jeans are from Madewell, but I’m not sure if they make them anymore.
>
Hello! I love your jacket and stumbled upon your post recently. I am trying to put trim on my jacket but am having a bit of trouble understanding how to create a smooth transition at the hem line. I understand that the lining and jacket front were sewn wrong sides together and then the seam allowance cut down to attach the trim. I am only using one petersham trim. I sewed the sides partially first so I could finish the hem with the proper seem allowance but now I can’t figure out how to unstitch the side seams for a smooth transition to attach the trim. How does your lining look towards the hem line with the trim? I hope this makes sense.