


I love Barbour-style jackets, but who wants to pay over $300 for a coat that can only be “sponged clean”? I. Just. Can’t.
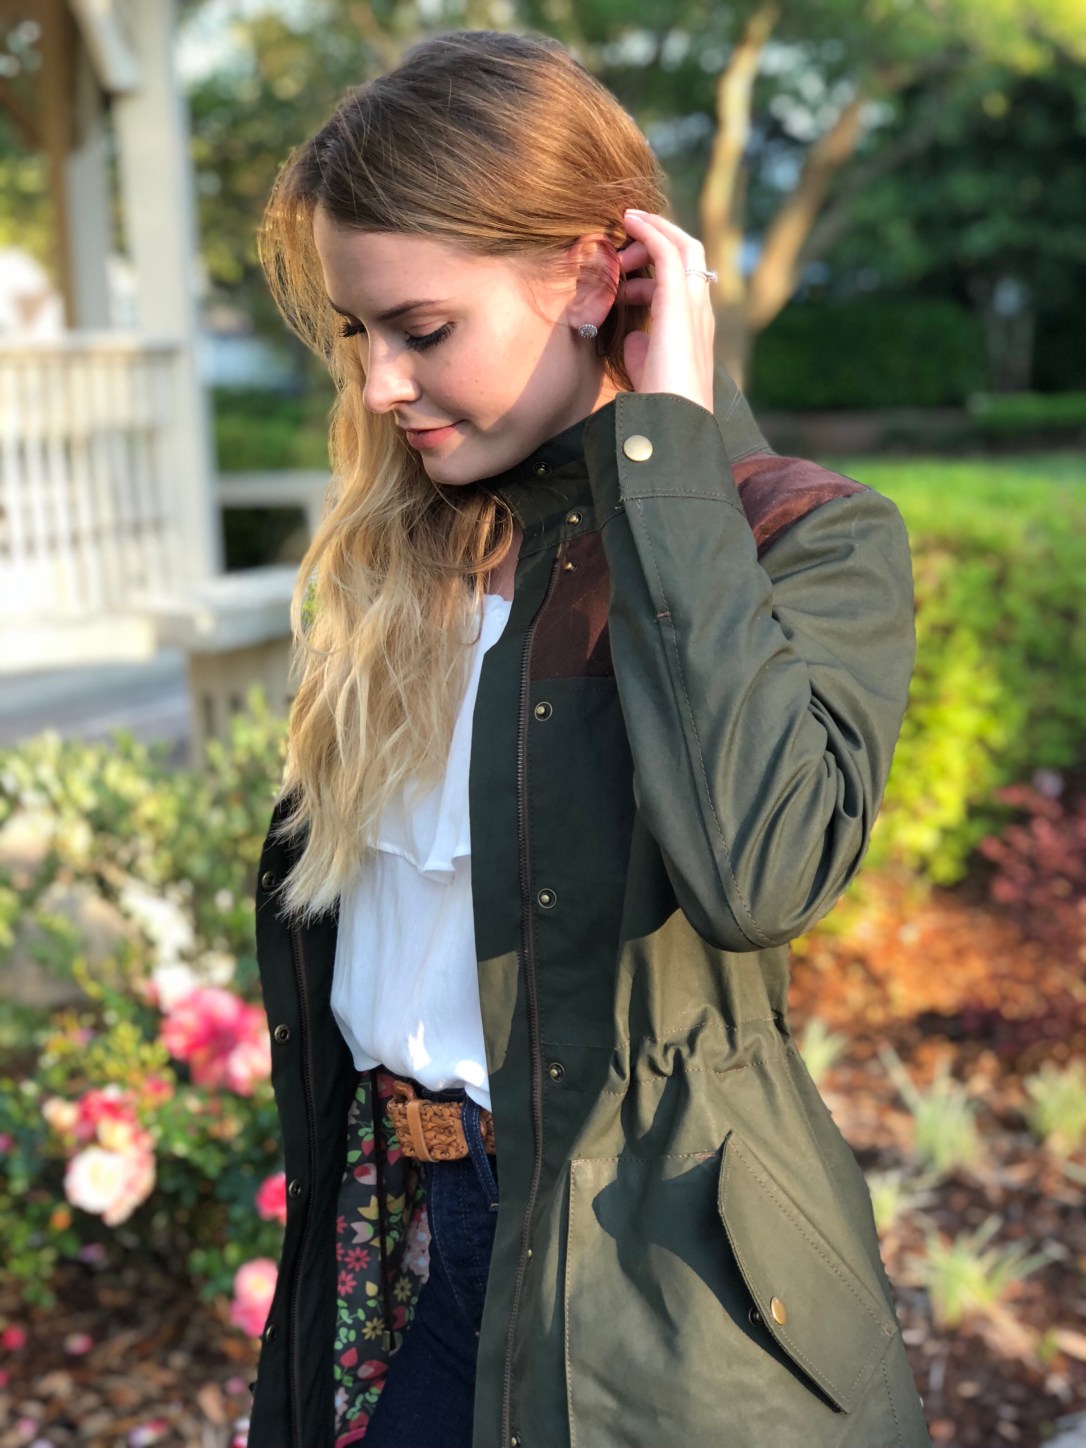
I found this unique, water resistant fabric at Pacific Blue Denims. It is made in the UK at the Dinsmore fabric mill, and is listed as a wax/acrylic coated cotton canvas It is 7 oz and 100% cotton. This fabric is so different from anything I have ever sewn with. It feels dry to the touch, unlike some waxed fabrics that feel slightly sticky, especially when warm. The finish does not rub off when ironed and didn’t leave a residue on my sewing machine either. It has a matte finish, but a beautiful slight sheen (similar to traditional waxed canvas) develops after some use. This wound be a great choice for a dressier raincoat because it doesn’t necessarily look like it would shed water, but it does so wonderfully while also being breathable. Also, the fabric wont have to be re-waxed later. However, there are some drawbacks. The wax/acrylic canvas also has a very stiff drape that makes gathering and easing tremendously difficult. While I was setting in the sleeves, I kept thinking the fabric behaved more like brown craft paper rather than canvas. Oh, and perhaps the biggest challenge working with this fabric is that needle marks are hard to remove. Much like working with leather, all topstitching much be perfect on the first try. No do-overs!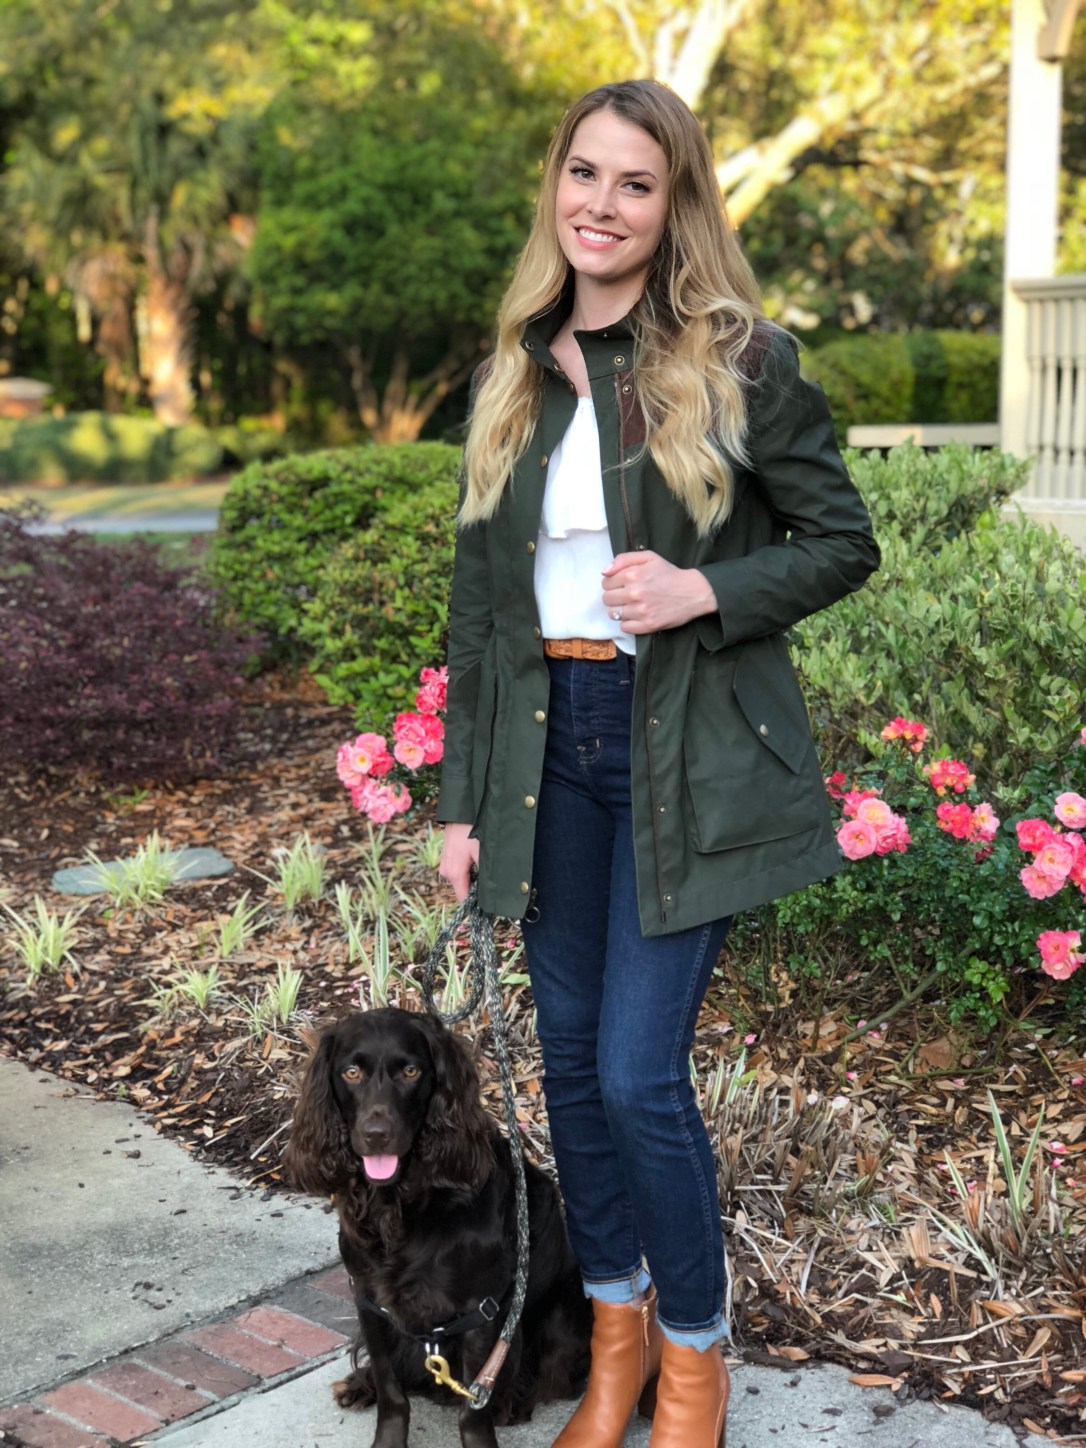

Drawbacks aside, I think this is a wonderfully made, hard-wearing fabric if you are looking for a new kind of challenging material to sew with.
I used a brown faux suede at the front yoke that I quilted to the coated canvas with some matching machine quilting thread. I used this same brown thread for all the topstitching elsewhere on the jacket. The interlining fame from Five Eighth Seams, a local fabric store in Charleston. The zipper is an M6 Riri zipper from pacific trimming that I had to dye darker with synthetic dye. Snaps and other hardware were from the Closet Case Patterns Kelly Hardware kit.

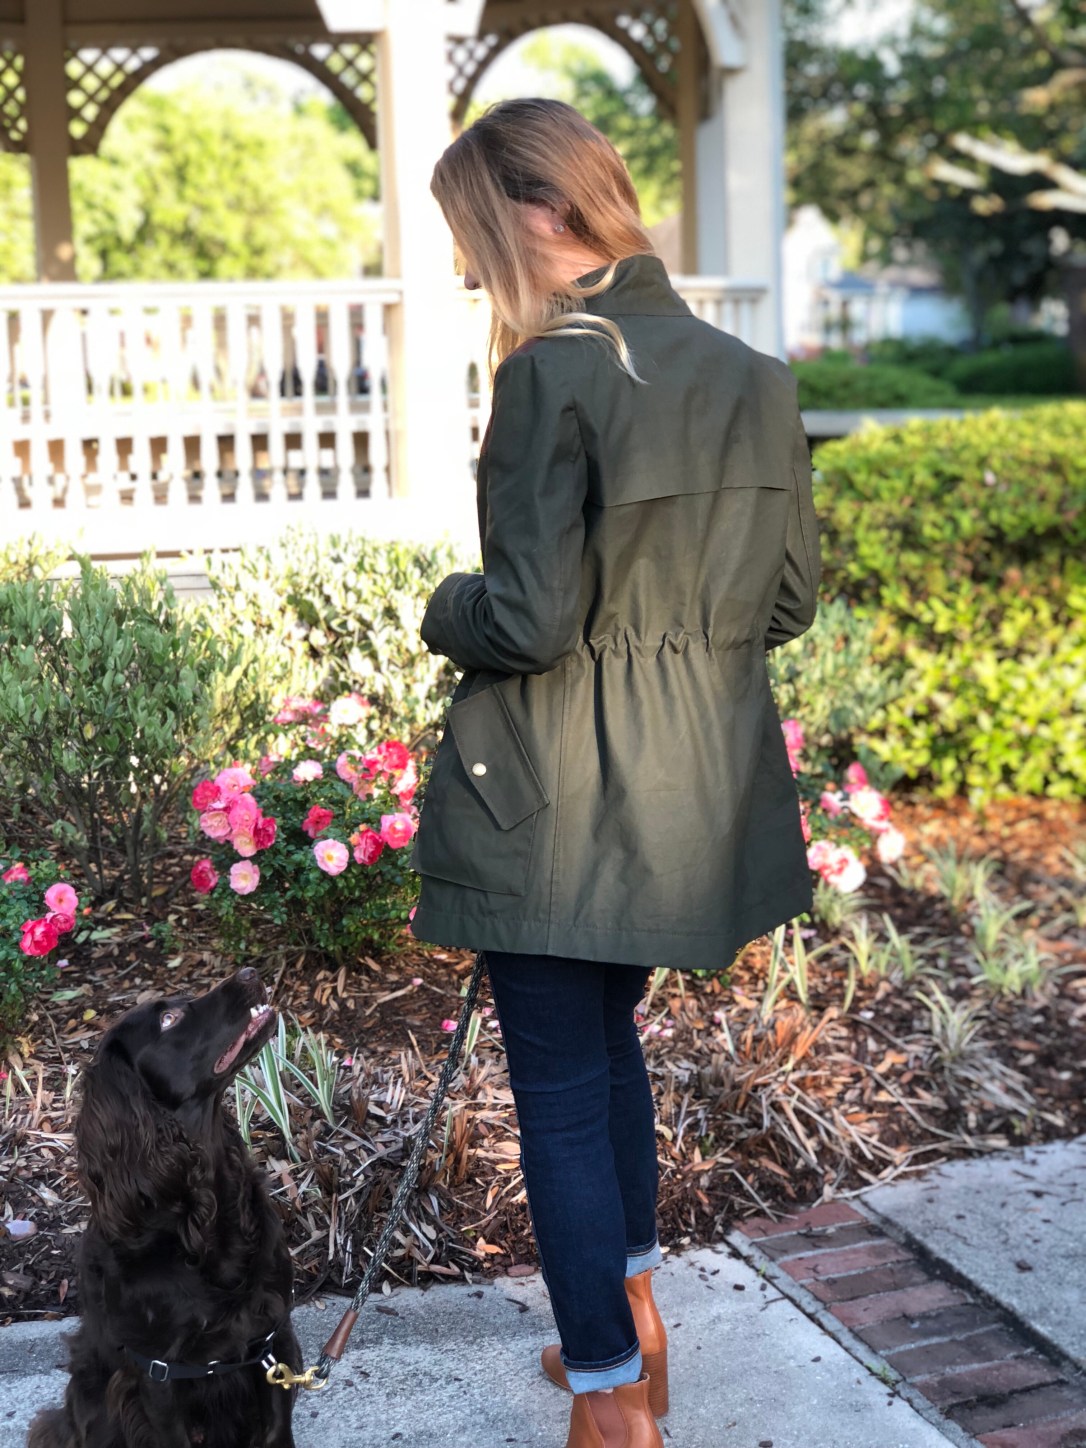
I used the Kelly Anorak Pattern by Closet Case Patterns (size 4). Modifications are as follows: Lowered the drawstring by 3/4″, moved the drawstring to the inside, changed pockets to have a flap closure, added an interlining, quilted the front yolk pieces, lengthened the sleeves by 1/4″, and made a broad shoulder adjustment. I am thinking about making a detachable, snap-on hood by modifying the Kelly Anorak hood pattern pieces. I don’t use hoods on jackets, but it would be good to have on a rainy day.
What do you think? Would you ever sew with traditional waxed canvas or wax/acrylic coated canvas?

FULL-ON HEART EYES. This is gorgeous. I love the color, your stitching is so tidy, and the overall vibe is “Oh will the Duke be at the shooting party?” which is SUCH A GOOD VIBE. Love!
I love this! I came to your blog from Pattern Review after looking at the Tunic Bible reviews. I love your combination of fabrics and your stitching is top notch. I know you will enjoy wearing this for years to come.
LOVE this look! Did you order the fabric online, or are there free-standing PBD shops? The description that you give of the canvas sounds perfect for this project!
Hey Kami! I’m glad you liked my jacket :-). I ordered the fabrics online from PBD. If my memory serves me correctly, at the time I ordered this fabric, you placed your order online, but they contacted you via phone later to get payment information. I would definitely order from them again as they have some really unusual fabric. I would recommended ordering a swatch first because the wax coatings make the fabric stiffer and heavier than you might expect!
Thank you! 🙂
Hello. I know it’s been a few years since you’ve made this amazing jacket. I have purchased this pattern and hardware kit. I was originally going to make it out of tweed but now I am leaning towards a waxed fabric. So any tips on getting the sleeves to go in without that ease and without puckering? I have worked with waxed canvas for many years but I’ve never used it in a jacket. You jacket turned out so amazing and is inspirational.
Kim,
Thank you so much for your sweet and kind words. When I set a sleeve, I usually do three rows of gathering stitches: one along the seam line, one 1/8” away into the seam allowance, and another 1/8” away into the garment. I was unable to do the third row of gathering stitches because waxed canvas retains the needle marks.
You options are: 1. Use only two rows of gathering stitches to set the sleeve. Or 2. You could try to sew the sleeve to the front and back pieces BEFORE you sew the side seams. This method doesn’t give you quite as pronounced of a sleeve head but no one would ever know unless you did a side-by-side comparison. Helens closet has a great tutorial of how to sew sleeves in flat https://helensclosetpatterns.com/2017/03/31/how-to-sew-a-sleeve-in-flat/
Either way, slow as slow as you can stand it while sewing in the sleeve to avoid mistakes. Also check to make sure your bobbin always stays full. If you do have to redo an area, heavy steaming and massaging the fabric help with the needle holes somewhat.